Aprilaire 600 Installation Manual: A Comprehensive Plan
This manual details the installation of the Aprilaire 600 humidifier, covering safety, tools, and step-by-step instructions for both automatic and manual control modes․
The Aprilaire 600 humidifier is designed to add essential moisture to your home’s air during the heating season, enhancing comfort and protecting your home’s structure․ This whole-house humidifier integrates seamlessly with your existing HVAC system, offering both automatic and manual control options to suit your specific needs and climate․
Proper installation is crucial for optimal performance and longevity․ This manual provides comprehensive guidance, ensuring a safe and effective setup․ The Aprilaire 600 series, alongside the 400 and 500 models, utilizes a bypass system, moving air from the supply duct through the humidifier and into the return duct․ Understanding these airflow dynamics is key to a successful installation․
Whether you choose automatic operation, utilizing an outdoor temperature sensor, or prefer manual adjustment, this guide will walk you through each step․

Safety Precautions & Warnings
Electrical Safety is paramount: Disconnect power to the HVAC system at the breaker box before commencing any electrical connections․ Improper wiring can lead to electrical shock and property damage․ Installation should be performed by a qualified technician to ensure adherence to local electrical codes․
Water Damage Prevention: Carefully connect water supply and drain lines to prevent leaks․ Inspect connections thoroughly after installation․ Avoid over-tightening fittings, which can cause cracks․
General Precautions: Wear appropriate safety glasses during installation․ Read and understand all instructions before beginning․ Keep small parts away from children․ Always refer to the humidifier control safety and installation instructions included with your specific model․ Failure to follow these warnings could result in injury or damage․
Tools and Materials Required for Installation
Essential Tools: You will need a screwdriver set (Phillips and flathead), adjustable wrench, pipe cutter, drill with appropriate bits, wire strippers/crimpers, and a level․ A voltage tester is crucial for electrical safety verification․
Required Materials: Gather a supply of appropriate piping (copper or PEX) for the water line, a drain line (PVC or similar), wire connectors, electrical tape, and mounting screws․
Additional Items: A plastic resistor case is needed if installing in manual mode, replacing the outdoor temperature sensor․ Ensure you have the Aprilaire 600 humidifier unit, a water panel, and the correct orifice size for your system․ Don’t forget Teflon tape for threaded connections!
Understanding Automatic vs․ Manual Control Modes
Automatic Mode: Utilizing an outdoor temperature sensor, the Aprilaire 600 automatically adjusts humidity output based on external conditions․ This provides consistent comfort with minimal user intervention, optimizing humidity levels throughout the heating season․ It requires proper sensor placement for accurate readings․
Manual Mode: This mode allows direct user control over the humidifier’s operation․ You adjust the humidity level via the control panel, independent of outdoor temperatures․ For manual installations, replace the outdoor sensor with a plastic resistor case and attach the manual faceplate․
Choosing a Mode: Consider your climate and preference․ Automatic is convenient, while manual offers personalized control․

Installation Location Considerations
Ductwork Selection: The Aprilaire 600 can be installed in either the supply or return ductwork․ However, return duct installation is generally preferred for optimal performance and air mixing; Ensure sufficient space exists for the unit and future maintenance access․
Water Source & Drain Access: Proximity to both a water source and a drain is crucial; The humidifier requires a connection to a cold water supply line and a drain for excess water․ Minimize the length of these connections to prevent leaks and ensure efficient operation․
Avoid Obstructions: Ensure the chosen location doesn’t obstruct airflow or interfere with other HVAC components․
Ductwork Compatibility (Supply vs․ Return)
Return Duct Installation: Generally recommended, return duct placement draws air before heating, enhancing humidification efficiency․ This allows for better mixing of humidified air throughout the home․ It’s ideal for consistent humidity levels․
Supply Duct Installation: While possible, supply duct installation introduces moisture after heating․ This can lead to less effective air mixing and potentially uneven humidity distribution․ Careful consideration of airflow dynamics is vital․
Series Considerations: Models 400, 500, and 600 utilize a bypass system, moving air from the supply duct through the humidifier and back into the return․ Proper bypass damper adjustment is critical for optimal airflow․
Proximity to Water Source & Drain
Water Source: The Aprilaire 600 requires a nearby cold water supply, typically a ¼-inch or larger pipe․ Access for easy connection is crucial․ Ensure the water supply pressure is within the manufacturer’s specified range to prevent operational issues․
Drain Line: A gravity drain is essential for removing excess water․ This drain line must terminate into a suitable drain, avoiding back-siphoning․ Proper slope is vital for effective drainage and preventing water damage․
Installation Considerations: Locate the humidifier close to both the water source and drain to minimize plumbing runs․ This simplifies installation and reduces potential leak risks․ Consider freeze protection in colder climates․
Step-by-Step Installation Guide ⏤ Model 600
Preparation: Begin by shutting off power to the HVAC system․ Carefully unpack the Aprilaire 600 and verify all components are present․ Review the complete installation instructions before proceeding․
Mounting: Securely mount the humidifier unit to the ductwork, ensuring proper alignment for airflow․ Use appropriate hardware for a stable installation․
Connections: Connect the water supply line, ensuring a leak-proof seal․ Attach the drain line, verifying correct slope and termination․ Complete electrical connections according to local codes․
Testing: Restore power and test the system․ Verify water flow, drainage, and proper humidifier operation․ Reset the change water panel indicator after initial setup․
Mounting the Humidifier Unit
Location is key: Select a suitable mounting location on either the supply or return ductwork, ensuring adequate space for access and maintenance․ The unit must be securely fastened to prevent vibration and noise․
Secure attachment: Utilize appropriate mounting hardware – screws, brackets, or straps – compatible with the ductwork material․ Ensure the unit is level and properly aligned with airflow․
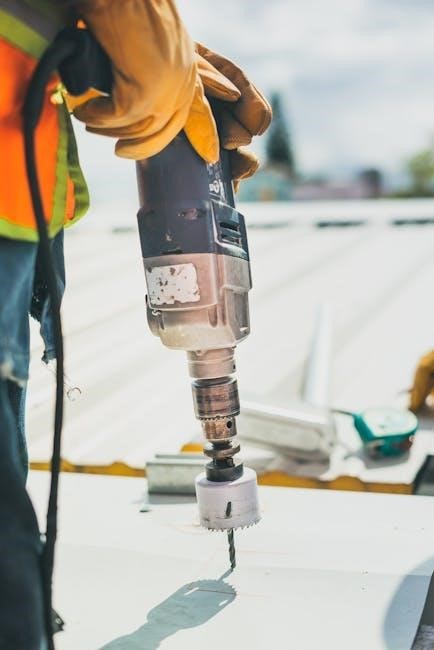
Duct considerations: Verify the ductwork is structurally sound enough to support the humidifier’s weight․ Reinforce if necessary․ Avoid mounting near sharp edges or obstructions․
Stability check: After mounting, thoroughly inspect the unit for stability․ Gently test its firmness to confirm a secure installation, preventing potential issues during operation․
Connecting Water Supply Line
Water source preparation: Locate a nearby cold water supply line, ideally within easy reach of the humidifier․ Ensure the water pressure is within the recommended range for optimal performance – typically 20-100 PSI․
Tubing installation: Connect the provided water supply tubing to both the water source and the humidifier’s water inlet․ Use appropriate fittings and clamps to prevent leaks․
Shut-off valve: Install a shut-off valve on the water supply line for easy maintenance and emergency shut-off․ This allows for convenient water panel replacements․
Leak testing: After connecting, carefully inspect all connections for leaks․ Slowly turn on the water supply and monitor for any drips or seepage․ Tighten fittings as needed․
Connecting Drain Line
Drain location: Identify a suitable drain location – a floor drain, standpipe, or laundry tub – near the humidifier․ Ensure the drain can accommodate the water flow from the unit;
Tubing installation: Connect the provided drain tubing to the humidifier’s drain outlet and securely route it to the chosen drain location․ Avoid sharp bends or kinks in the tubing․
Air gap: Maintain an air gap between the drain tubing and the drain opening to prevent back-siphoning of wastewater․ This is crucial for maintaining water purity․

Secure mounting: Properly secure the drain tubing to prevent it from becoming dislodged․ Use clamps or supports as needed to ensure a stable connection․
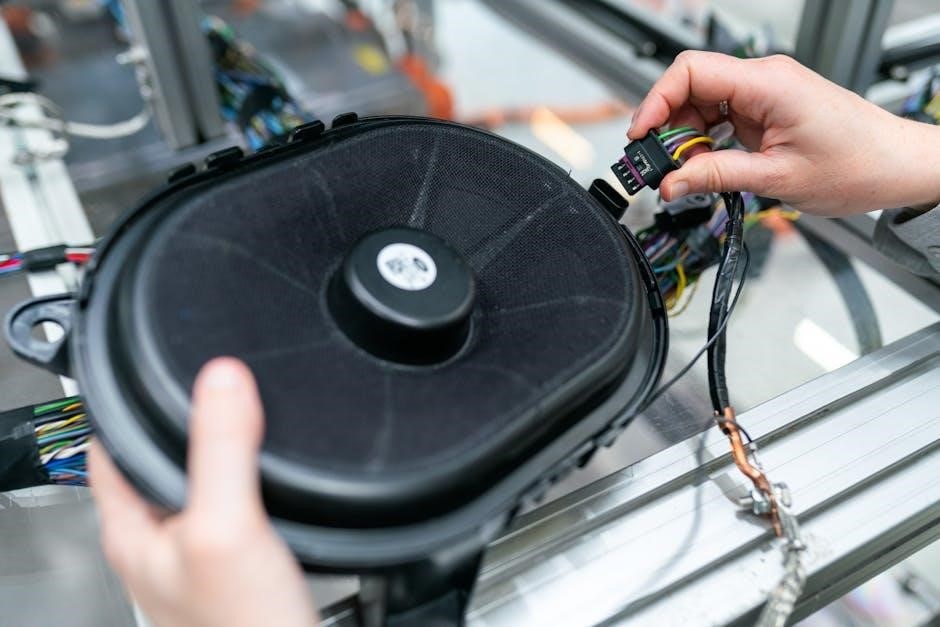
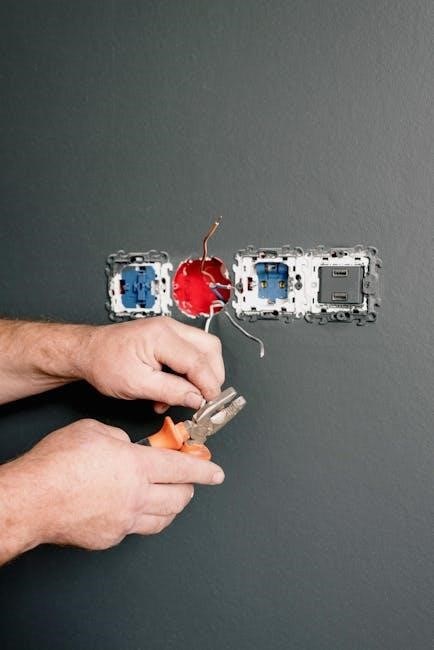
Electrical Connections & Wiring
Safety First: Disconnect power to the HVAC system at the breaker box before commencing any electrical work․ This prevents electrical shock and ensures safe installation․
Wiring Diagram: Refer to the wiring diagram included with the Aprilaire 600․ Correct wiring is essential for proper operation and to avoid damaging the unit․
Connections: Connect the humidifier’s wiring to the appropriate terminals in the HVAC system’s control panel․ Typically, this involves connecting to the blower motor circuit․
Grounding: Ensure the humidifier is properly grounded according to local electrical codes․ Grounding provides a safe path for electrical current in case of a fault․
Manual Mode Installation Specifics
Sensor Replacement: When installing in manual mode, it’s crucial to replace the outdoor temperature sensor with the provided plastic resistor case․ This disables the automatic control functionality․
Faceplate Attachment: Securely attach the manual faceplate to the humidifier control․ This faceplate is specifically designed for manual operation and provides the necessary controls․
Initial Testing: With the HVAC blower running, turn up the humidifier control and carefully check system operation․ Verify that the humidifier is functioning as expected in manual mode․
Control Adjustment: Adjust the manual control to achieve the desired humidity level․ Monitor the humidity and make adjustments as needed to maintain comfortable conditions․
Outdoor Temperature Sensor Installation (Automatic Mode)
Sensor Location: For automatic operation, the outdoor temperature sensor must be installed on an exterior wall, shielded from direct sunlight and precipitation․ Accurate temperature readings are vital for optimal performance․
Wiring Connection: Connect the sensor wiring to the humidifier control, following the wiring diagram provided in the installation instructions․ Ensure secure connections to prevent signal interference․
Calibration: After installation, calibrate the sensor within the humidifier control to ensure accurate readings․ This step is crucial for the automatic mode to function correctly․
Testing: Verify the sensor’s functionality by observing its response to changing outdoor temperatures․ The humidifier should adjust accordingly, maintaining desired humidity levels․
Bypass System Airflow Dynamics (Models 400, 500, 600 Series)
Airflow Path: In bypass systems (400, 500, and 600 Series), air is diverted from the supply duct, passes through the humidifier, and then reintroduced into the return duct․ This creates a consistent airflow for humidification․
Bypass Dampers: Properly adjusted bypass dampers are essential for controlling airflow through the humidifier․ Incorrect damper settings can reduce efficiency or cause condensation․
Air Volume: The amount of air flowing through the humidifier directly impacts its output․ Ensure sufficient airflow for optimal humidification without over-saturating the air․
Orifice Control: The provided orifice regulates water flow, maintaining the correct water-to-air ratio․ Proper orifice selection is crucial for efficient operation and preventing water waste․
Water Panel & Orifice Installation
Water Panel Insertion: Carefully insert the water panel into the designated slots within the humidifier unit․ Ensure it’s securely seated to maximize evaporation surface area and prevent water bypass․
Orifice Selection: Choose the correct orifice size based on your system’s airflow and desired humidity levels․ The included orifice chart will guide you in making the appropriate selection․
Orifice Installation: Install the selected orifice into the water supply line connection․ Tighten securely to prevent leaks, but avoid over-tightening, which could damage the fitting․
Water Flow Check: After installation, verify proper water flow through the panel․ Adjust the orifice if necessary to achieve optimal water distribution and humidification performance․
Initial System Check & Testing
Power-Up & Control Verification: After completing all connections, energize the HVAC system and verify the humidifier control is functioning correctly․ Confirm the control responds to adjustments in both automatic and manual modes․
Water Supply Check: Inspect the water supply line and connections for any leaks․ Ensure a consistent water flow to the humidifier panel without drips or excessive pressure․
Drain Line Inspection: Check the drain line for proper drainage․ Verify water is flowing freely away from the unit, preventing water buildup and potential damage․
Humidity Level Monitoring: Monitor indoor humidity levels to confirm the humidifier is operating as expected․ Adjust control settings as needed to achieve desired humidity․
Operation Guide & Control Settings
Understanding Your Control: The Aprilaire humidifier control, installed in the cold air return duct, requires initial setting adjustments based on your home’s specific conditions․ Refer to Table 1 in the Operation Guide for detailed instructions․
Manual Mode Operation: With the HVAC blower running, increase the humidifier control setting and observe system operation․ Adjust to achieve desired humidity levels, monitoring frequently․
Automatic Mode Operation: The automatic mode utilizes an outdoor temperature sensor to regulate humidity․ Ensure the sensor is properly installed for accurate readings and optimal performance․
Resetting the Indicator: Regularly check and reset the “Change Water Panel” indicator by setting the control knob to the “Test/Reset” position after panel replacement․
Change Water Panel Indicator Reset

Indicator Function: The “Change Water Panel” indicator illuminates when the water panel requires replacement, ensuring optimal humidifier performance and preventing mineral buildup․ Regular monitoring is crucial for maintaining air quality․
Reset Procedure: After installing a new water panel, the indicator must be manually reset․ Locate the control knob on your Aprilaire humidifier control unit․
Resetting Steps: Turn the control knob to the “Test/Reset” position and hold it there for approximately three seconds․ The indicator light should turn off, confirming a successful reset․
Verification: If the indicator does not reset, verify the new water panel is correctly installed and repeat the reset procedure․ Consistent resetting maintains accurate panel life tracking․
Troubleshooting Common Installation Issues
Water Leakage: Inspect all water line connections for tightness․ Ensure the drain line is properly positioned and free of obstructions․ Verify the humidifier unit is level to prevent water spillage․
Insufficient Humidity: Confirm the bypass damper is correctly adjusted for optimal airflow through the humidifier․ Check the water panel for proper saturation and ensure the orifice isn’t clogged․
Indicator Light Remains On: Verify the new water panel is correctly installed․ If the “Change Water Panel” indicator persists after resetting, inspect wiring connections to the control unit․

No Humidification: Confirm the HVAC blower is operating and the humidifier control is set to an appropriate humidity level․ Check electrical connections for proper power supply․
Warranty Information & Contact Details
Limited Warranty: Aprilaire offers a limited warranty on the Model 600 humidifier against defects in materials and workmanship․ The warranty period varies based on component, typically ranging from one to five years from the date of purchase․
Warranty Coverage: This warranty covers repair or replacement of defective parts, excluding those damaged by misuse, improper installation, or lack of maintenance․ Proof of purchase is required for all warranty claims․
Contact Information: For warranty claims, technical support, or general inquiries, contact Aprilaire directly․ Aprilaire Customer Service: 1-800-307-7294․ Website: www․aprilaire․com․ Address: Aprilaire, 800 North Humidifier Drive, Madison, WI 53706․